1. Upload Item Data
We prepare a list of UploadItems before they are upload to our backend. Each UploadItem is an object with the following properties:- eventName: The name of the event
- eventDate: The date of the event
- file: The file(CSV) to upload

- CSVs
- EventNames
2. Upload Item List
After you create an event, you can upload as many as you would like. The thought behind is that Luma calendars have more than 1 event hosted. By implementing this system, we are able to simulate a “batch” upload system that makes the lives of Luma hosts just a bit easier.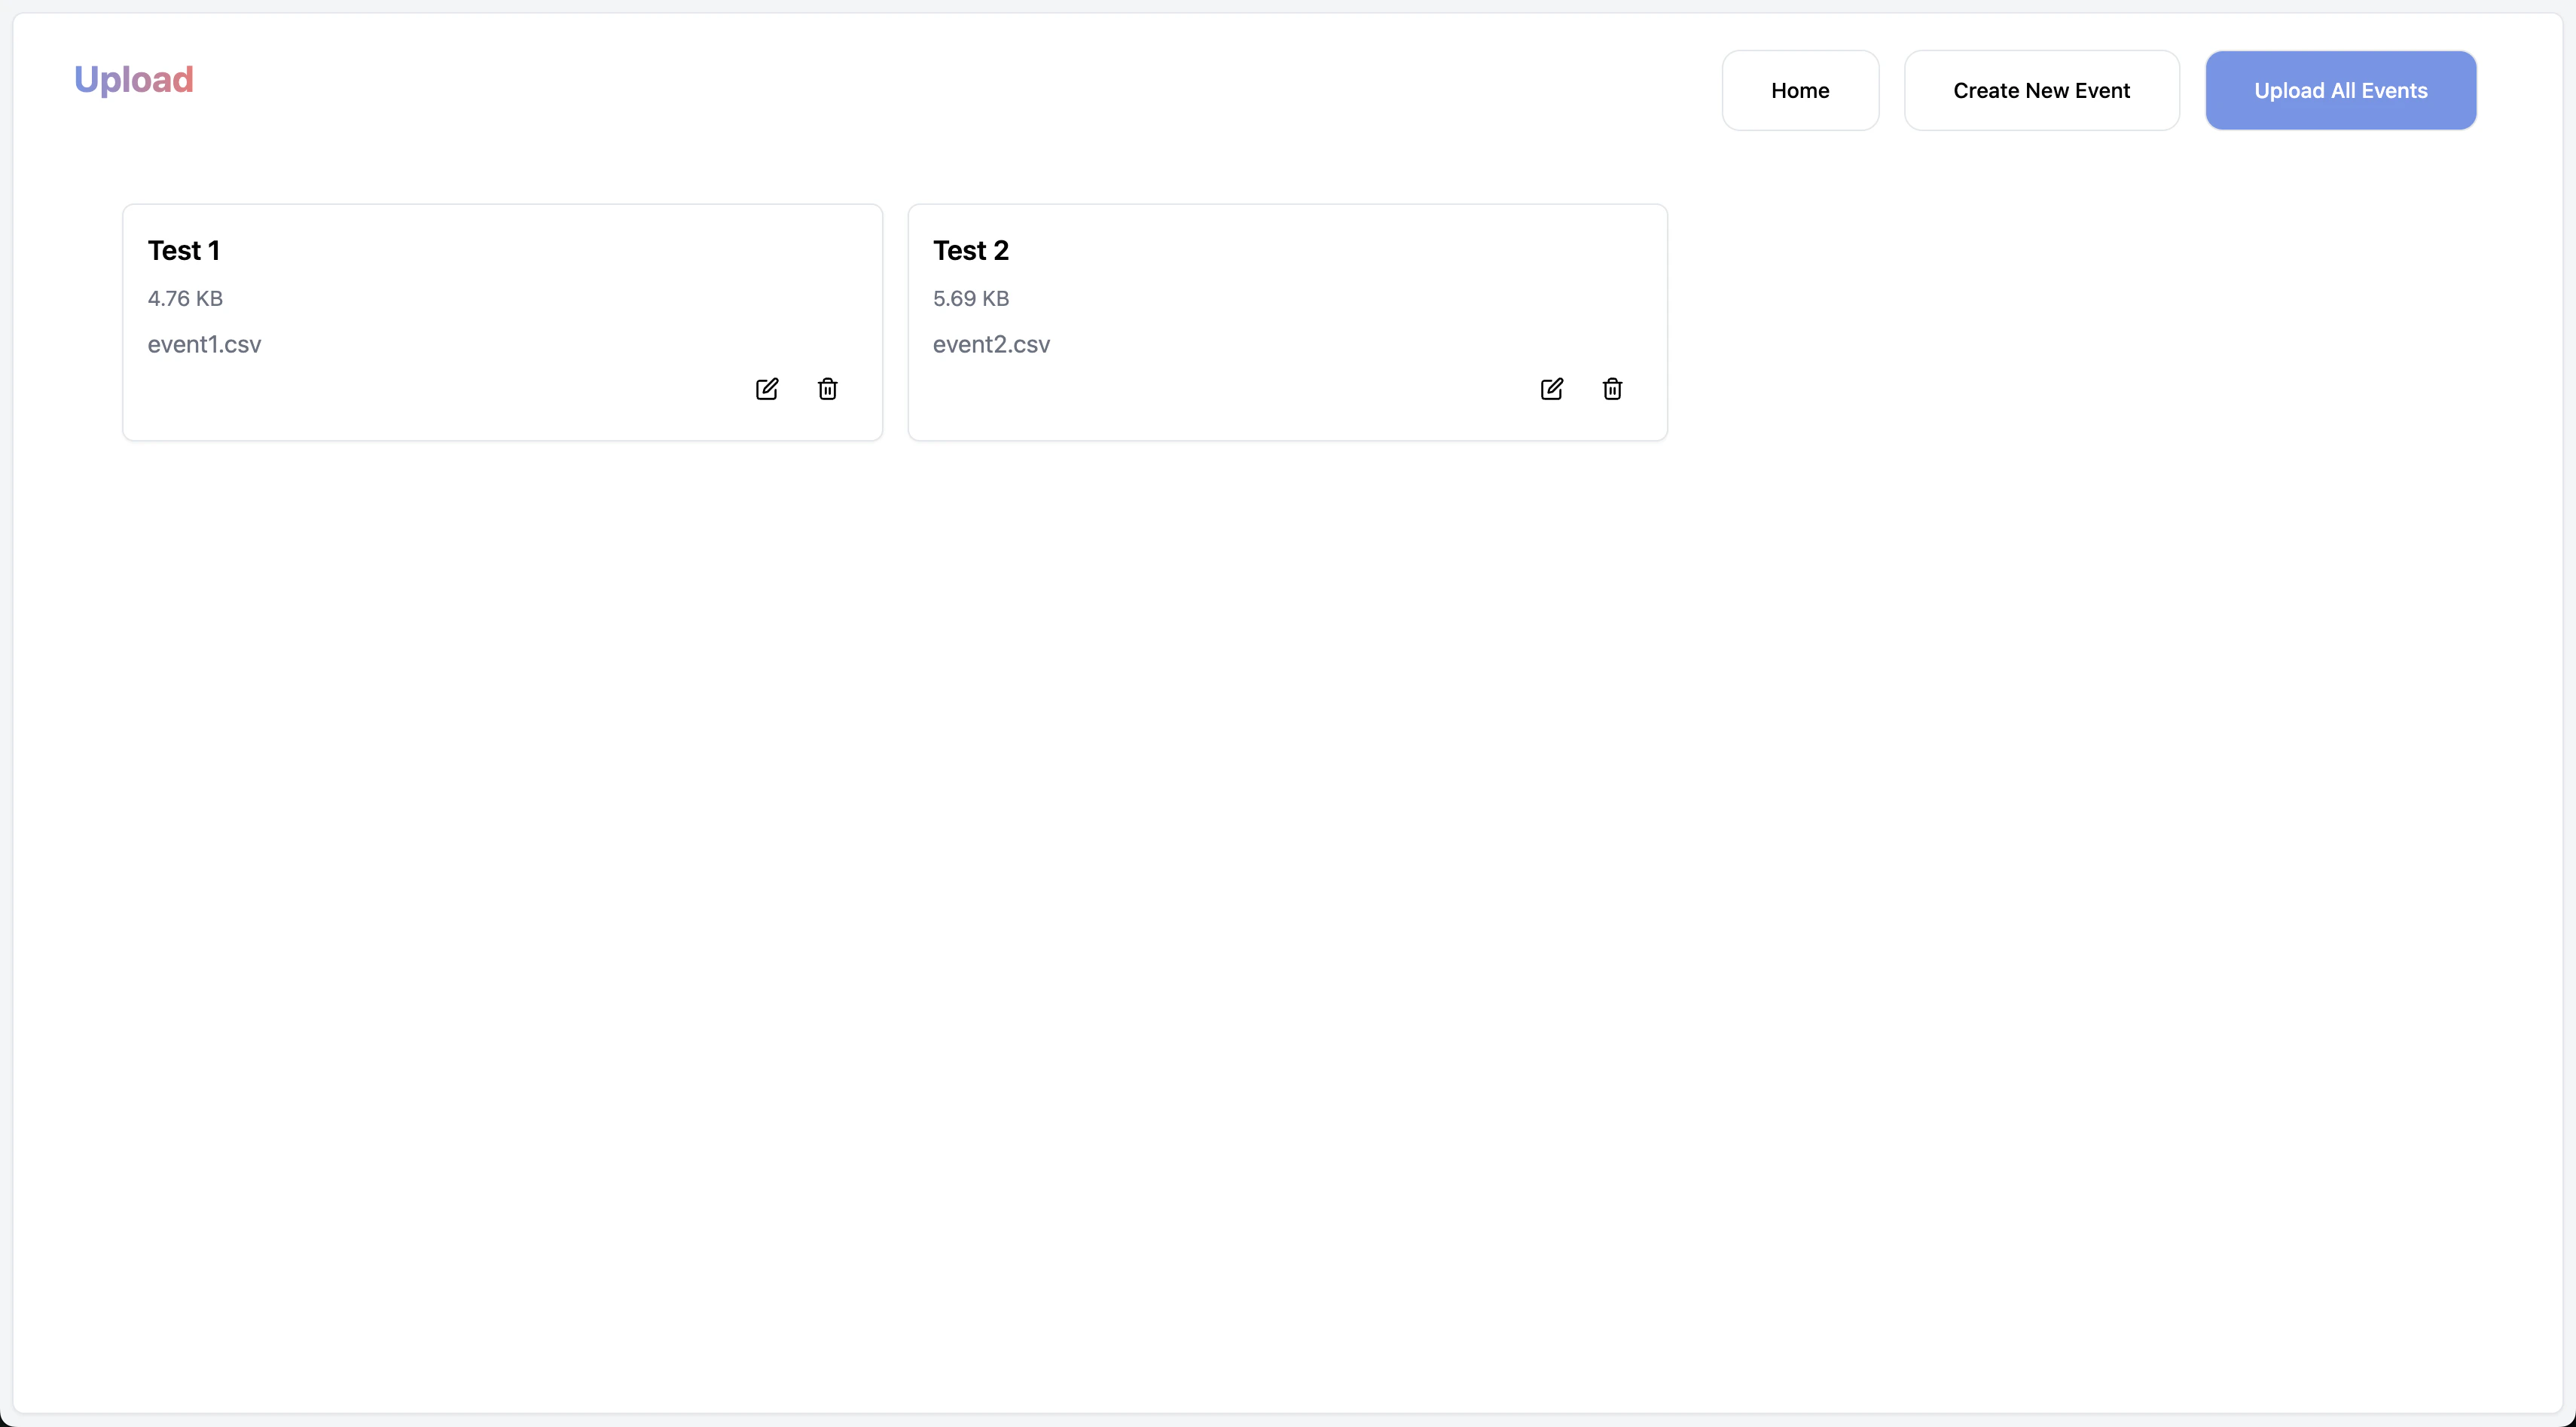
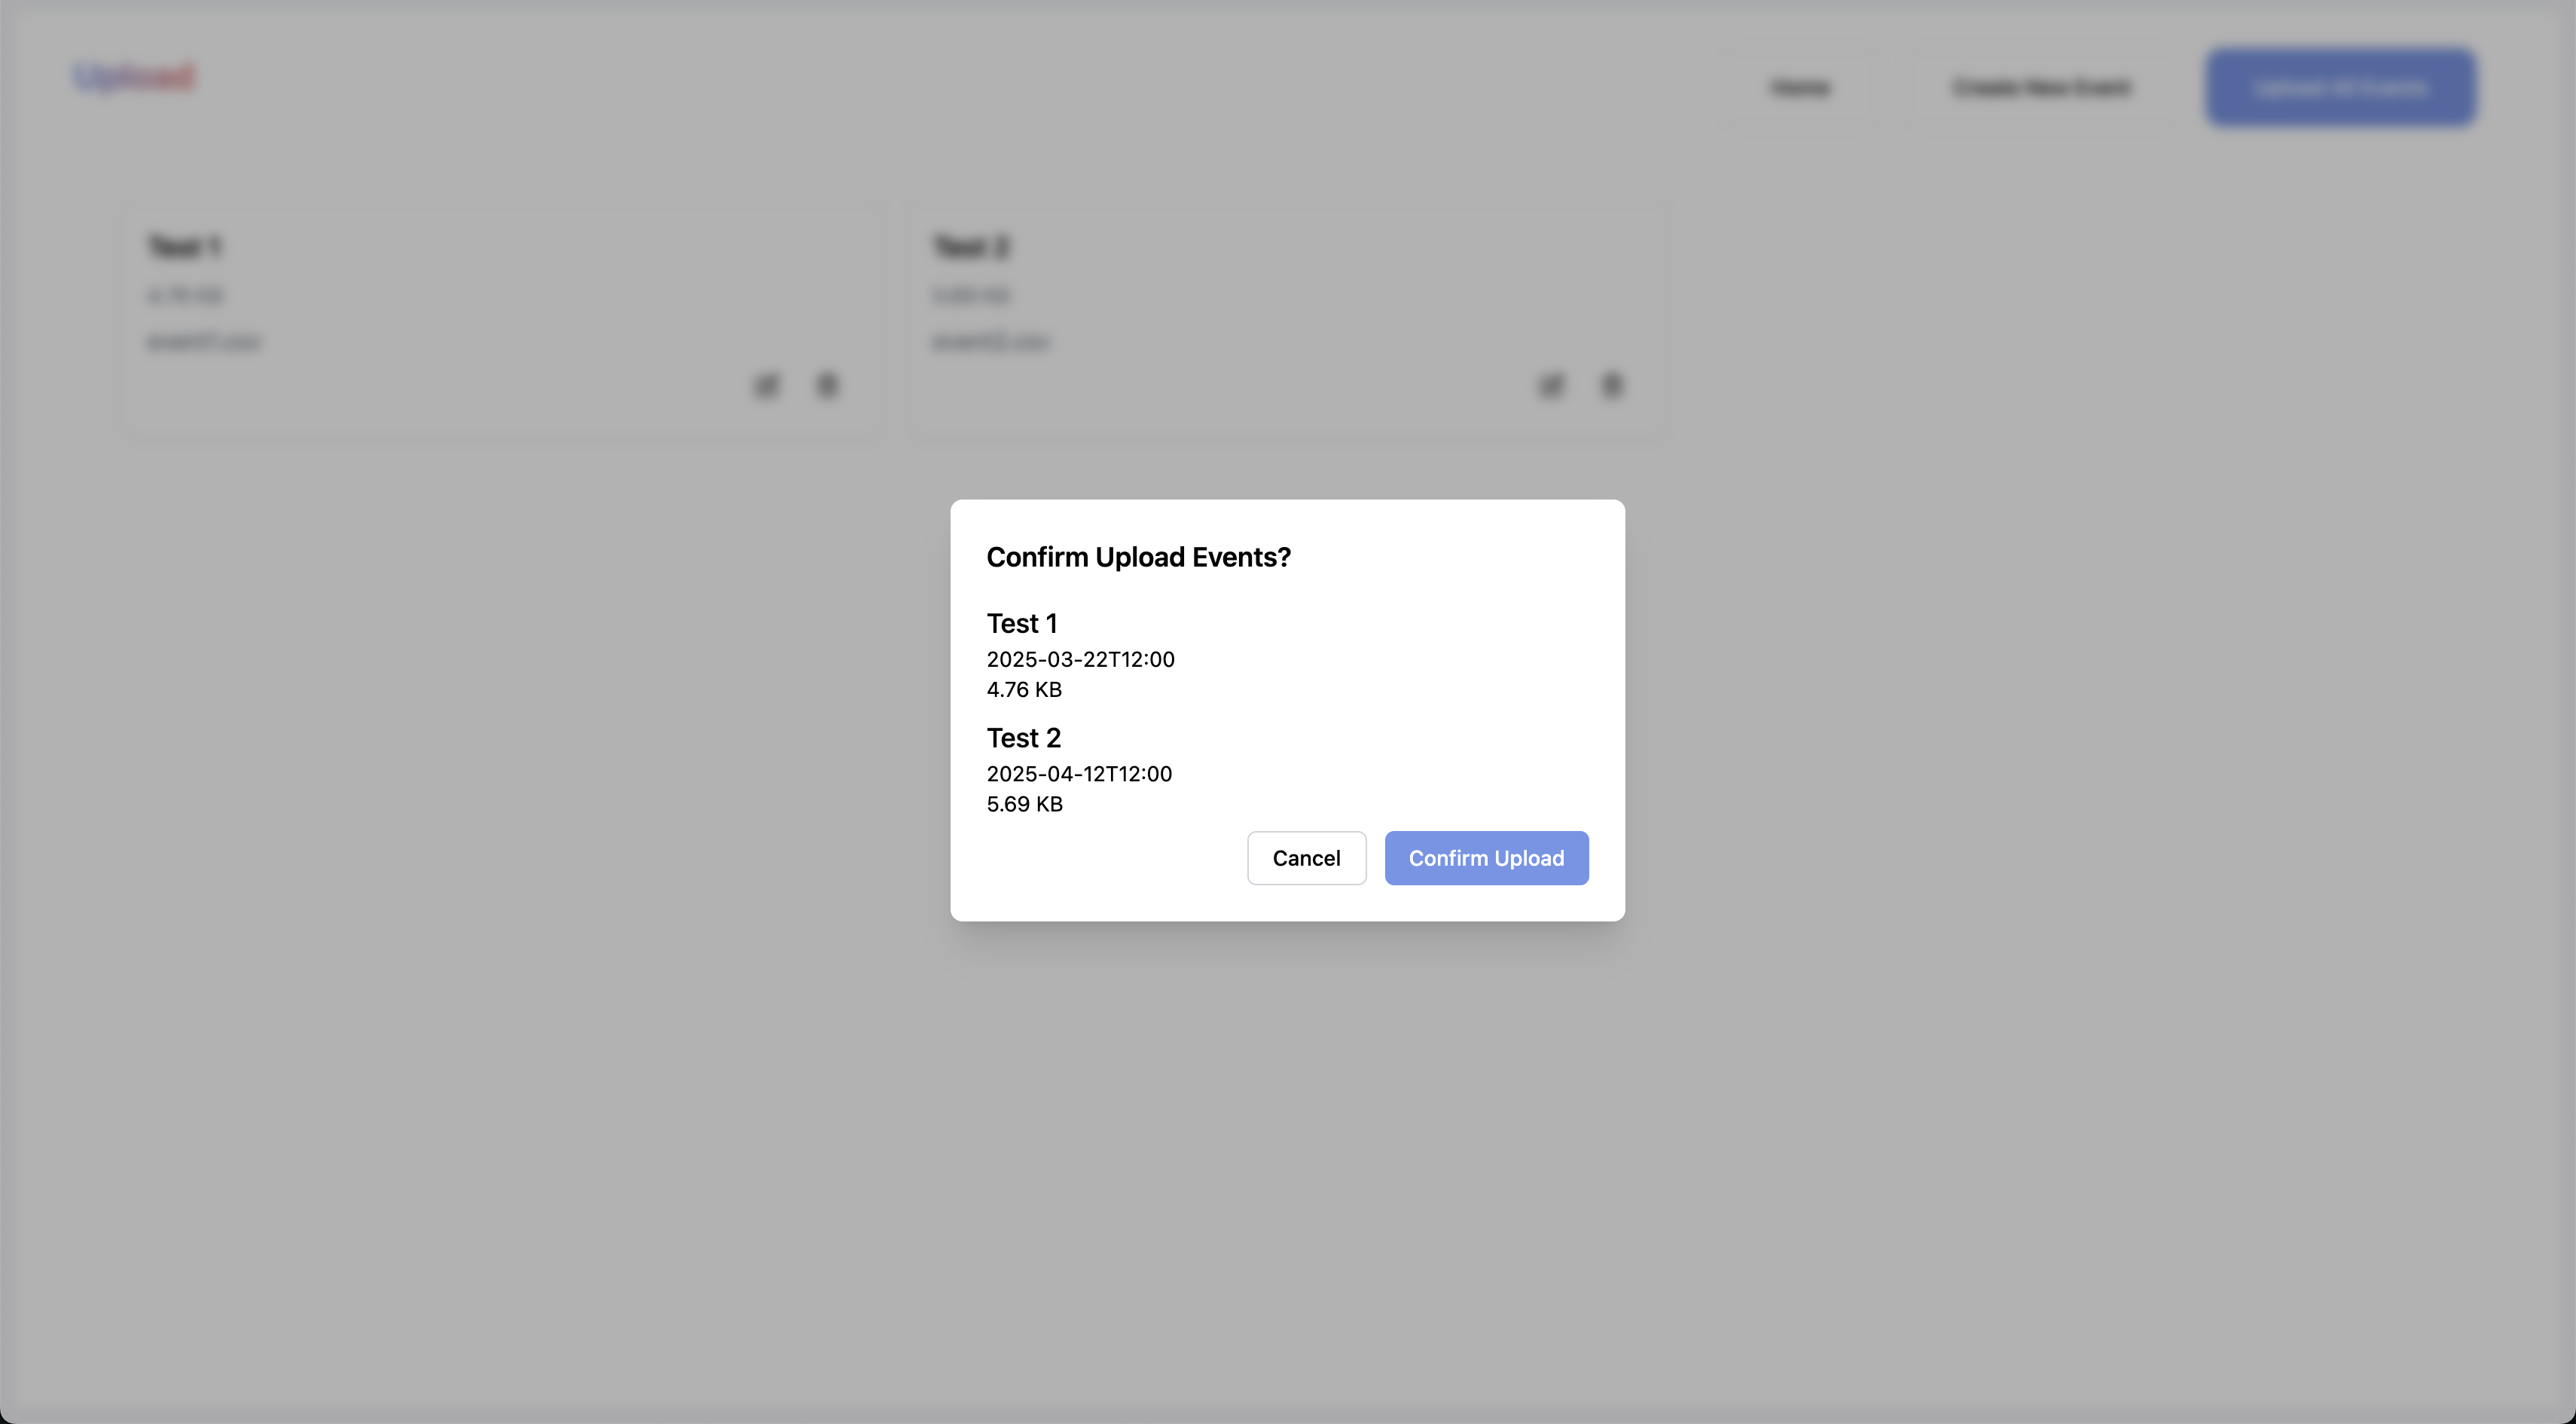
3. Upload the Items
After you have created the event and uploaded the CSVs, you can upload the items. If the upload resolves, you will be automatically redirected the/dashboard page.